
Ruger 10/22 Rebuild
I have this old Stainless Ruger 10/22 carbine I bought back in '92. It had a Butler Creek folding stock on it, and a nice red dot scope. Many a squirrel fell to it, and it was a good gun, I was just bored with it. And I also wanted to try my hand at customizing a 10/22, it's all the rage these days I hear!
This is what it looked like without the red dot, the way it's been last 12 years, just sitting ignored. Yes I know it's a horrible picture.Well, the scope was gone, I didn't want a folding stock with a pistol grip, it makes the gun a no no in NYS these days. I also wanted to see if I could improve the groups some, and make it smoother operating. I have heard and read nothing but great things about KIDD products, so I decided to do a full rebuild with all KIDD internals.
Stage 1
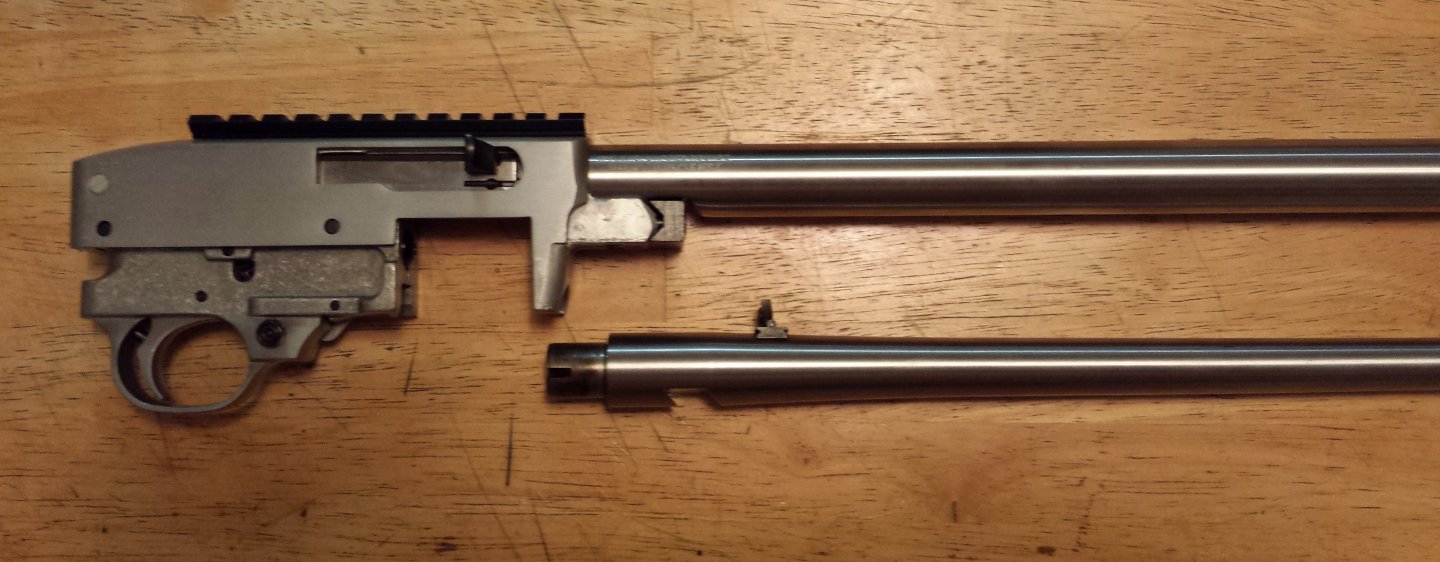
I installed an E. R. Shaw Stainless bull barrel, and also a much welcomed KIDD auto bolt release, plus a new bolt buffer. I have the factory barrel below for size comparison. Plus the new barrel added about 2 pounds, it feels much better now, more like a real gun, less toy like.
Then I dropped everything in a Ghille Tan Hogue Overmolded stock.
Looking at the muzzle of the old barrel, you can really appreciate the size difference. Feels great I can't wait for Stage 2!

Stage 2
Next up I will install the KIDD charging
handle/rod/spring kit, and the KIDD Custom bolt (the engraved one for extra
bling), Word is that the KIDD bolt assembly by itself will improve accuracy (it
has the firing pin contained and their tool steel extracto) so we'll see.
Charging Handle/Rod/Spring installation, Feb 12, 2014 -
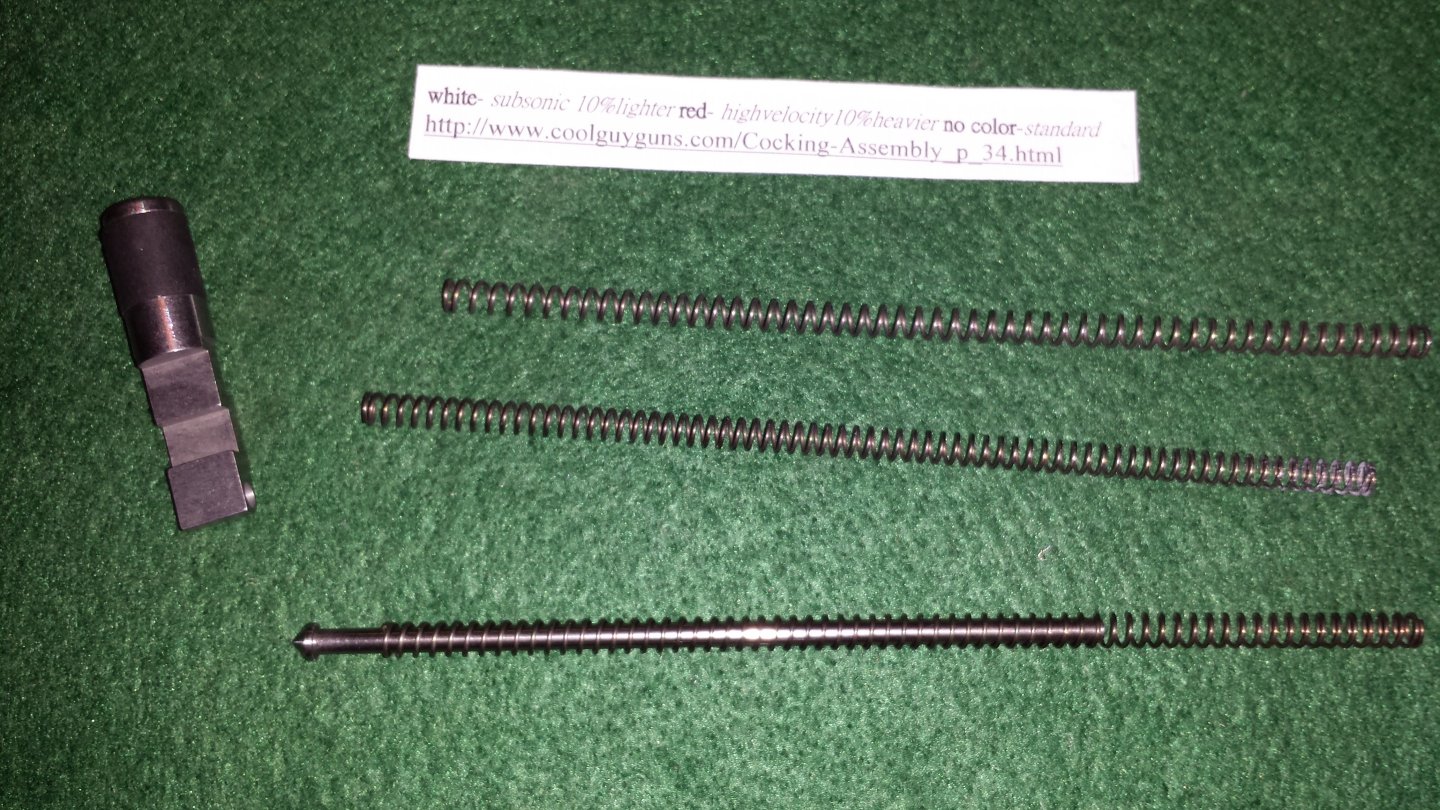
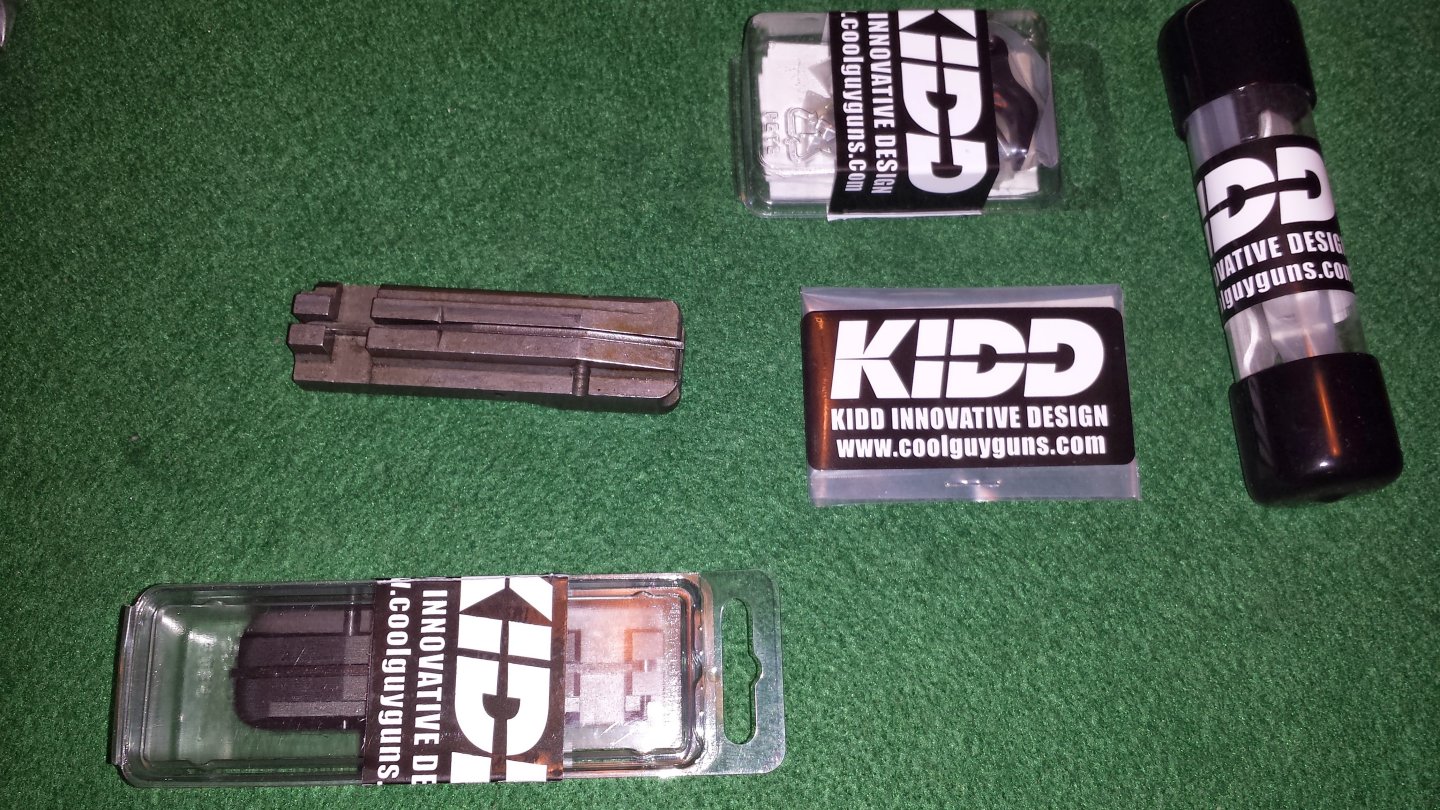
Here is the kit from Kidd, comes with a nice tube to store the other weight springs in.
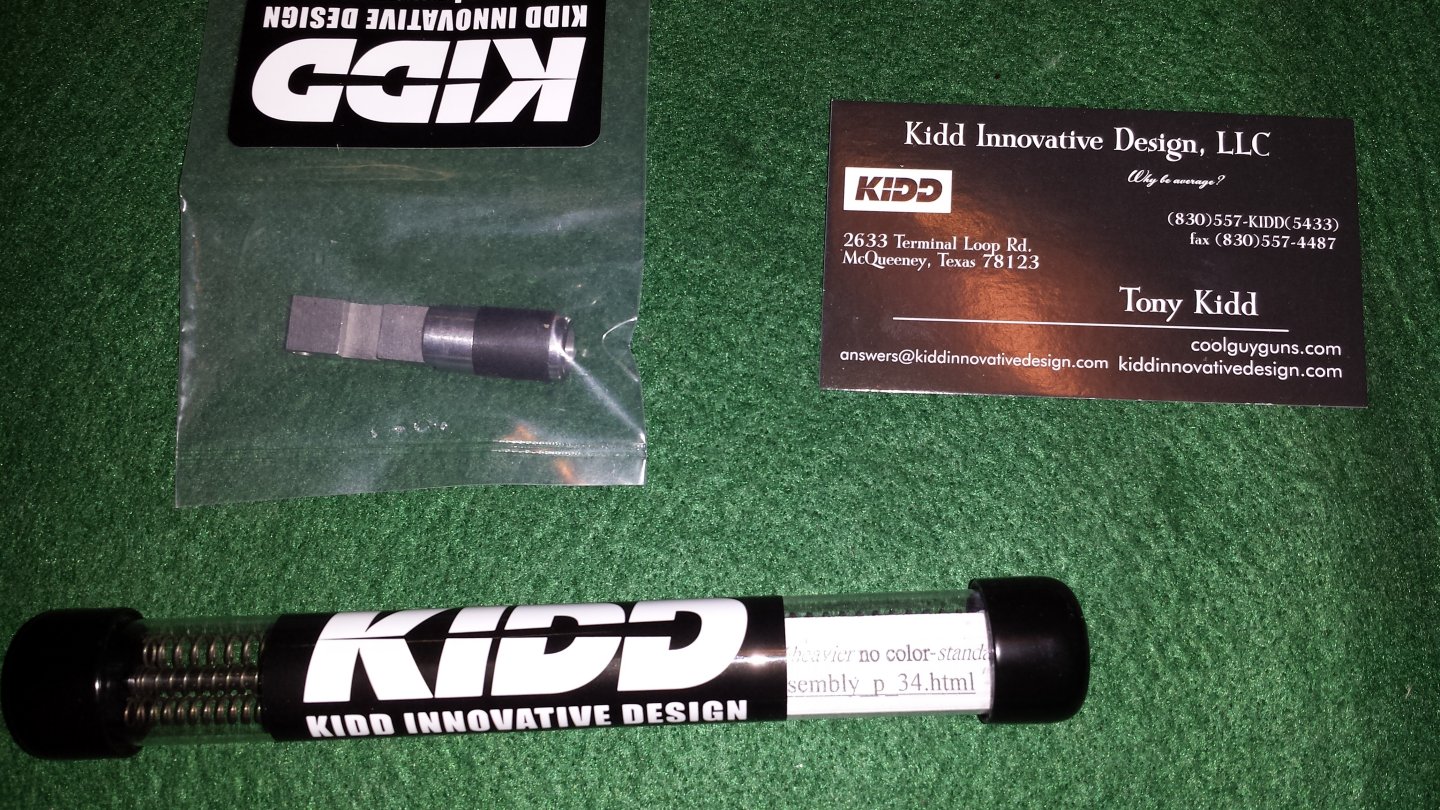
The guide rod is machined to .0002 tolerance, and nitride coated to 70C Rocekwell hardness, it's smooth as glass to the touch!
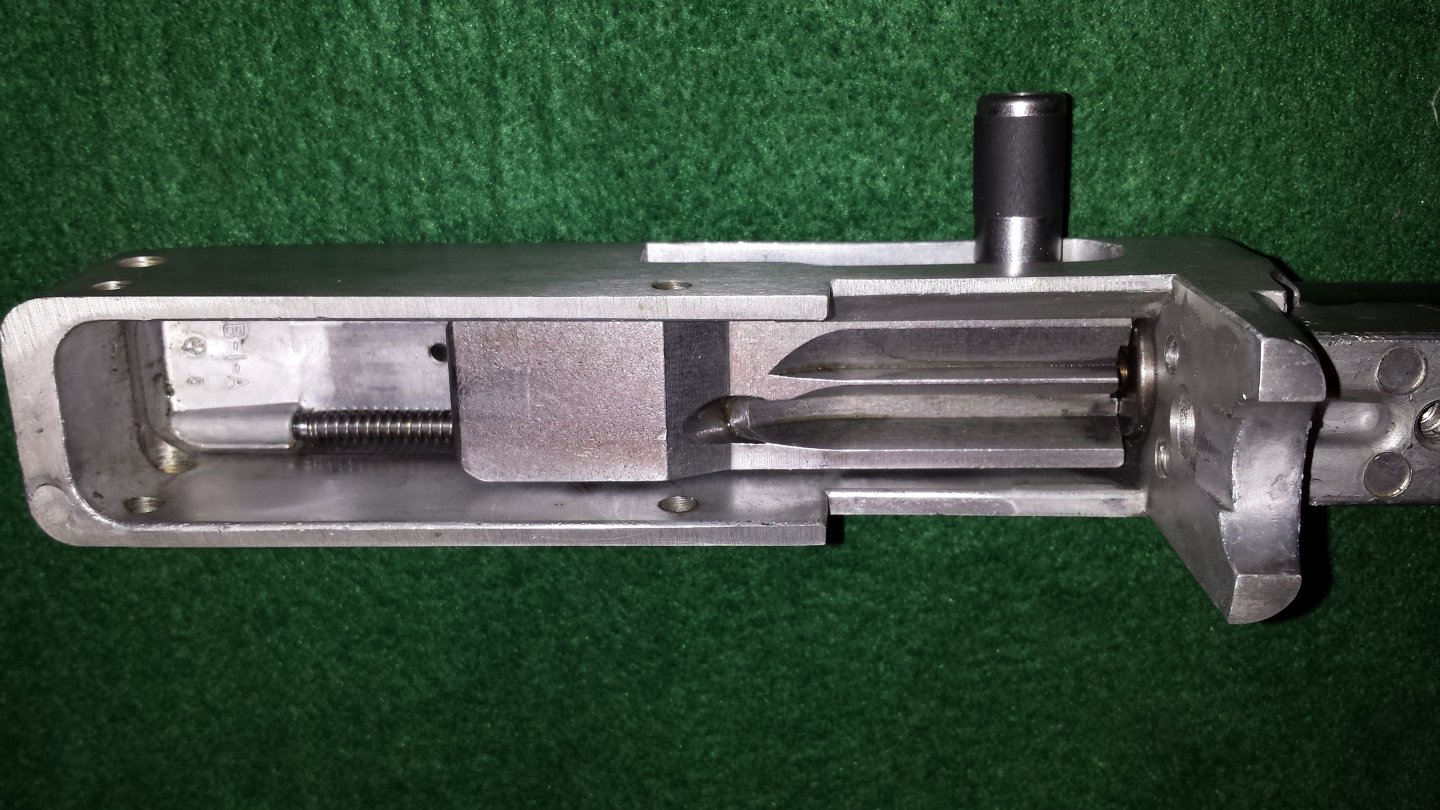
Now to remove the old assembly- remove action and barrel from stock, remove trigger group and bolt buffer, then remove bolt. Notice how the old guide rod is black and dull... See how the one on the table above the pins shines so brightly.
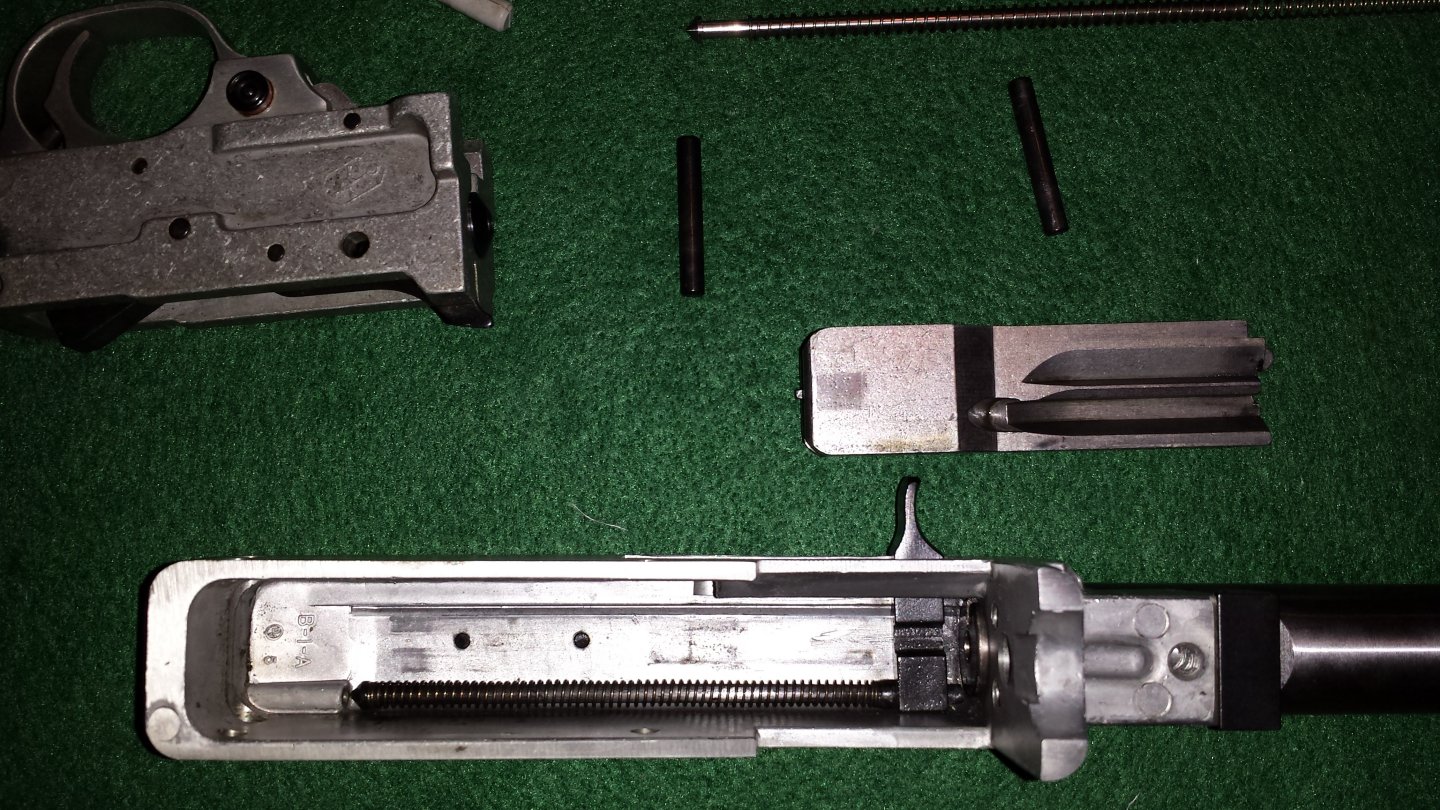
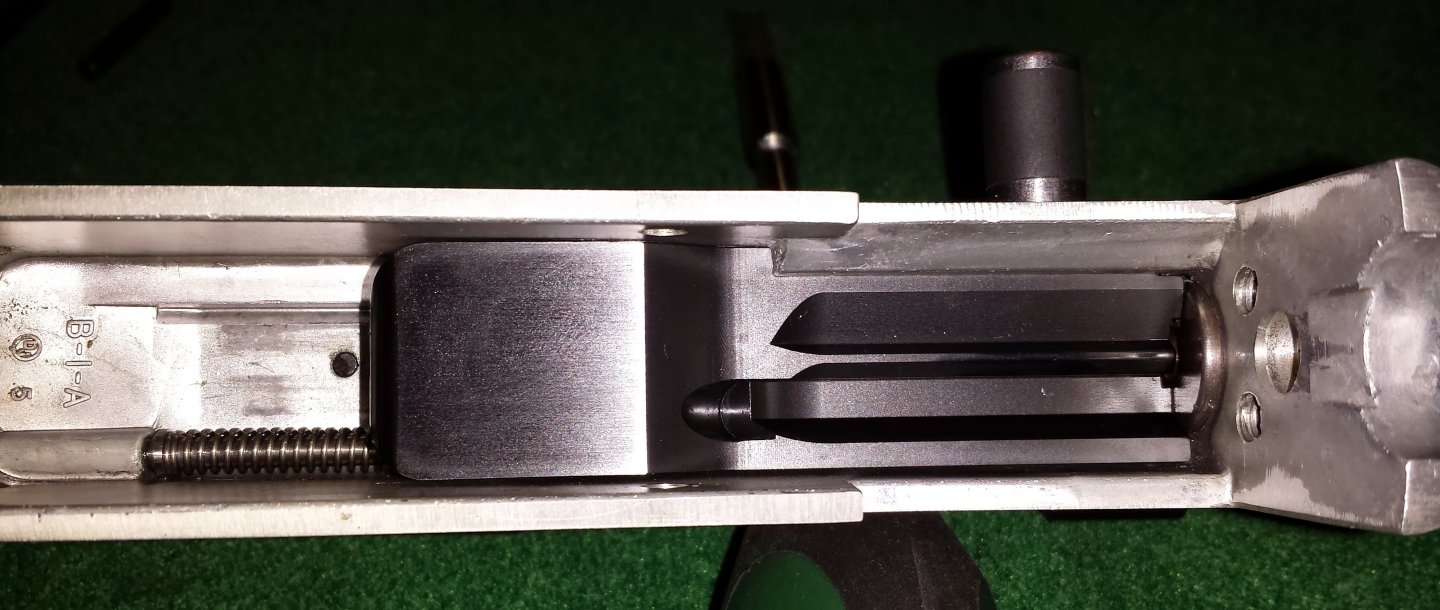
Here is the new kit in the reciever with the bolt also installed. The old assembly had about 5,000 rounds through it, so the new spring was much stiffer.
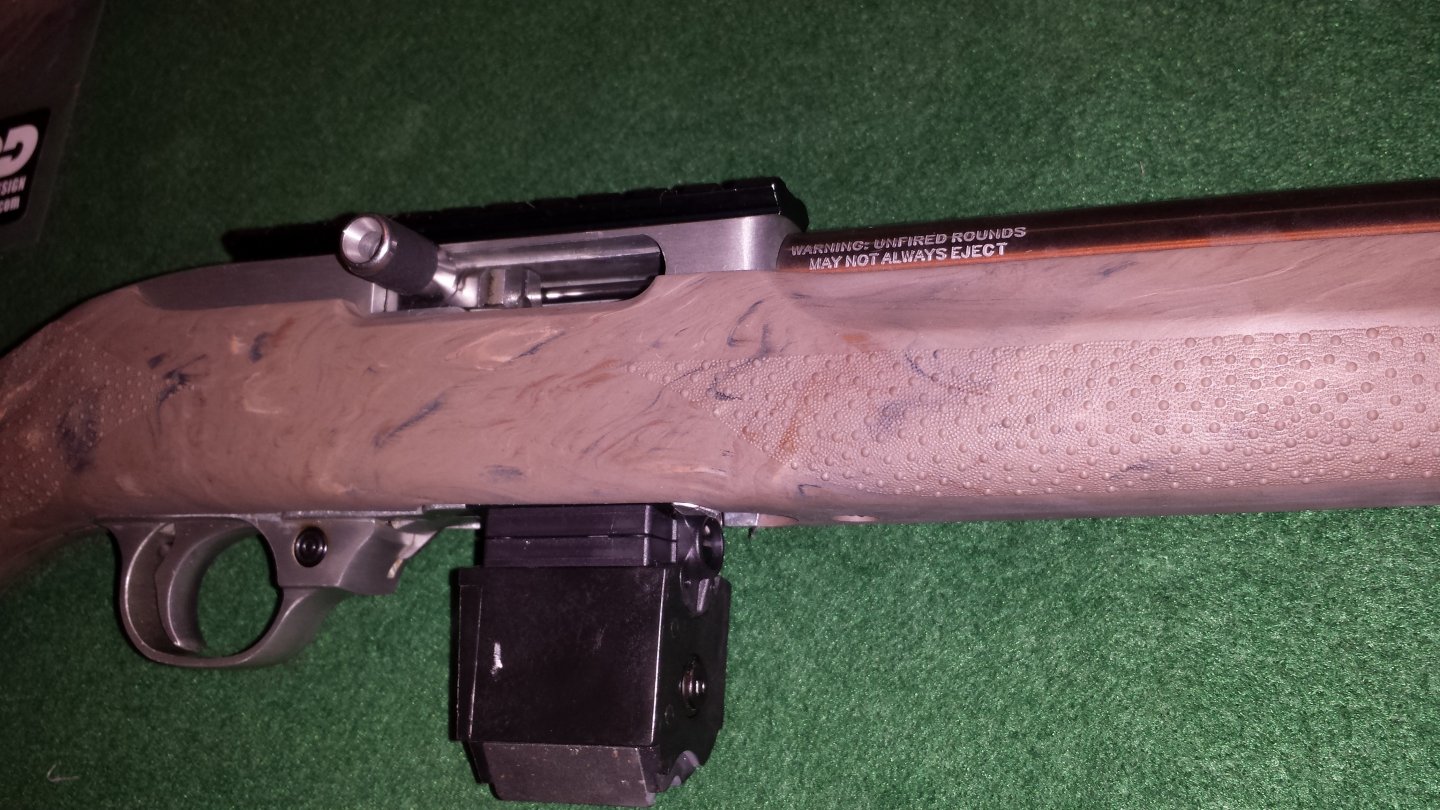
And here we are with everything back in the stock, I also have the TandemKross magazine coupler shown here. Even in the back of the receiver, I can see that guide rod shining it's so finely machined, a nice sight to see. And it's much smoother also. I can't wait until next week when I get the new bolt and trigger kit!
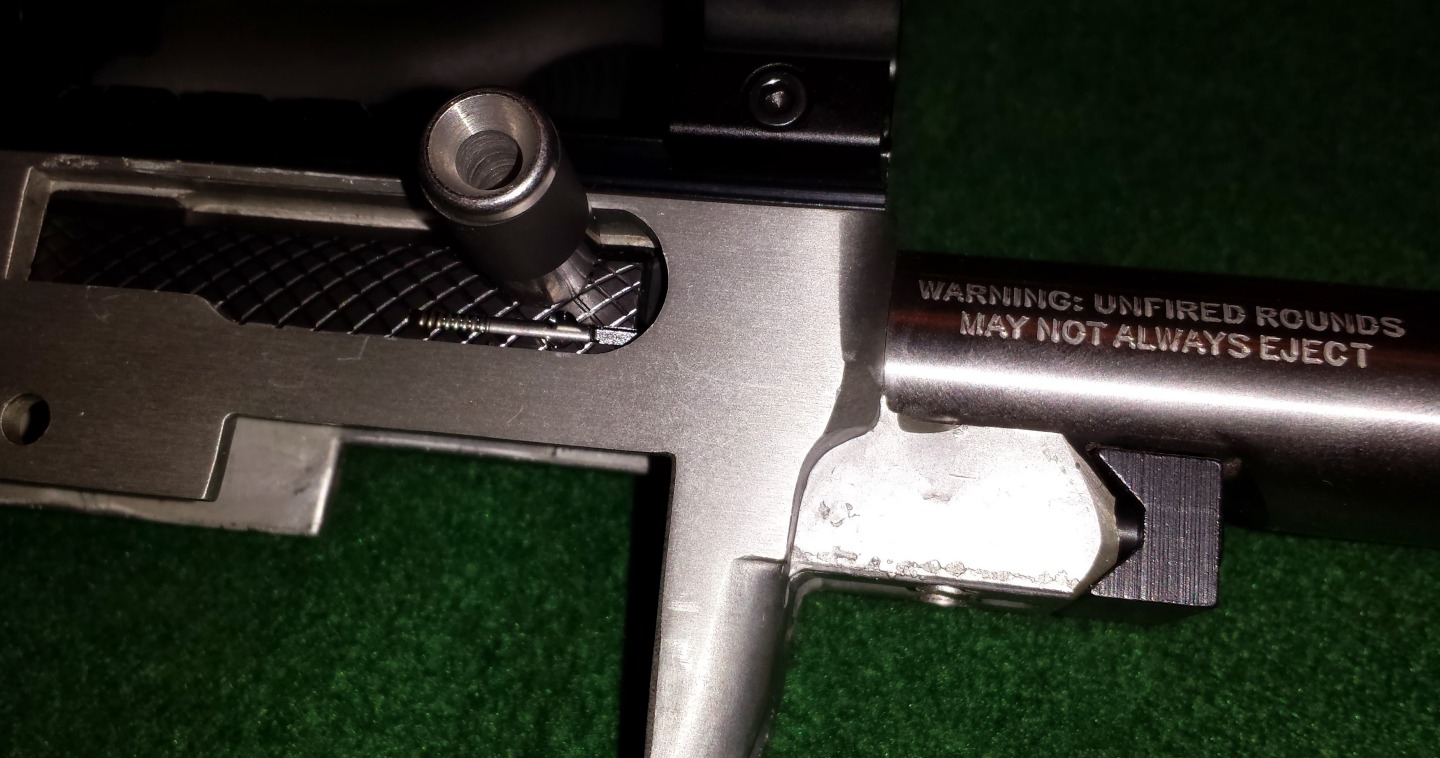
Bolt, Trigger Job Kit, Mag release installation Feb 20, 2014 -
After a USPS shipping disaster, I finally have the rest of the parts to complete Stage2, here they are, along with my old bolt.
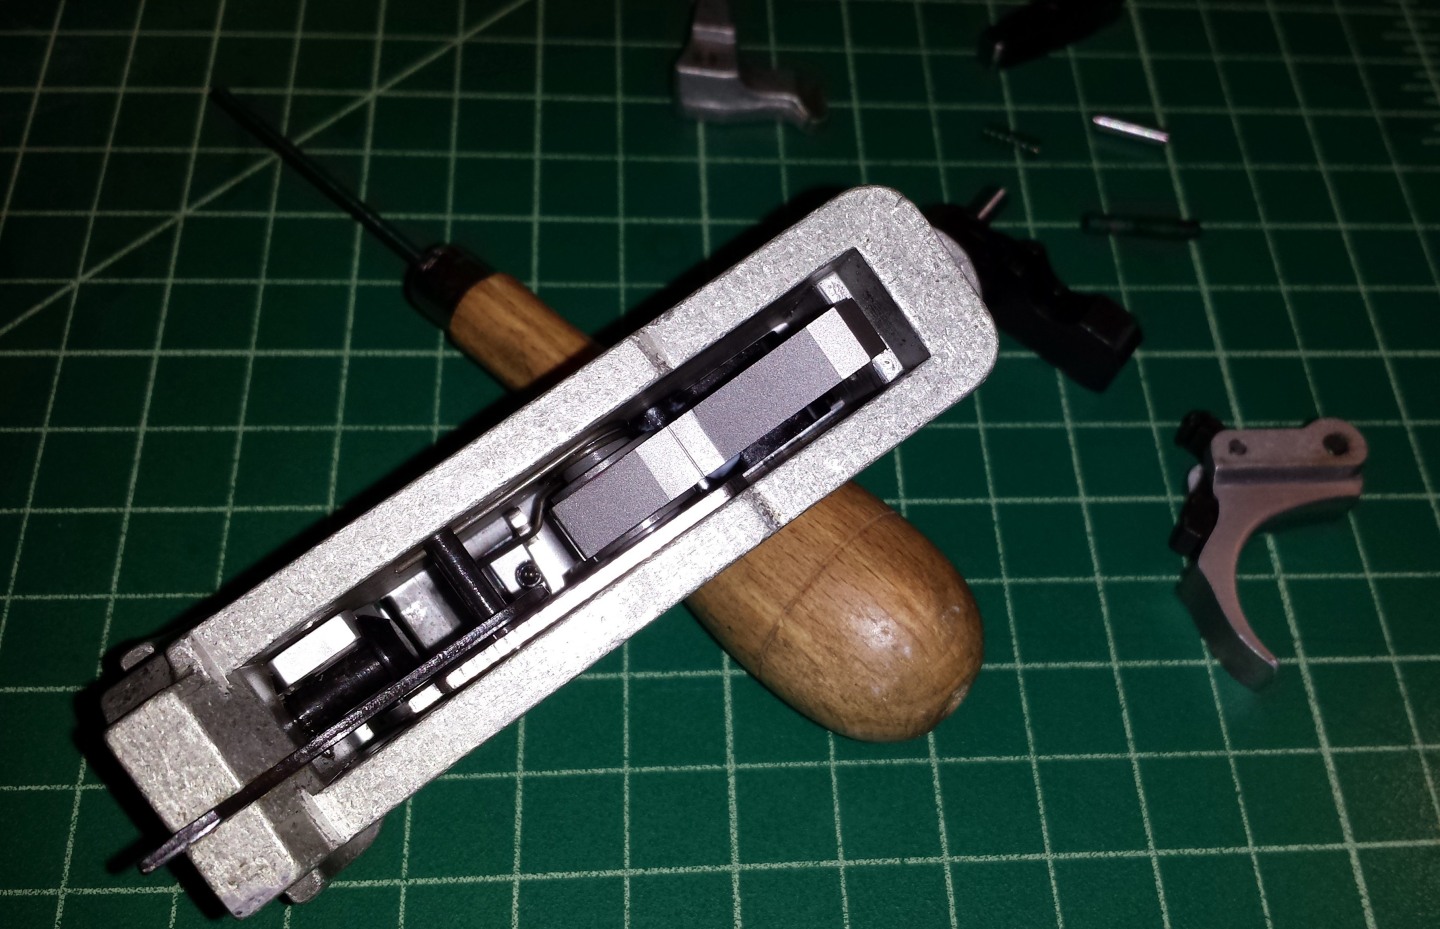
You can see in this closeup that teh maching on the new KIDD bolt is very nice, and the firng pin is also pinned so it can't jump up.

Here it is installed, looking down into the receiver. One of these days when I get another Dremel I need to polish the inside of this receiver. Again, notice how nice the machine work is. Really impressive quality and a great value.
And here it is from the side. Glad I chose the "black with scallops" option, it's not too flashy, but adds a little something to the look.
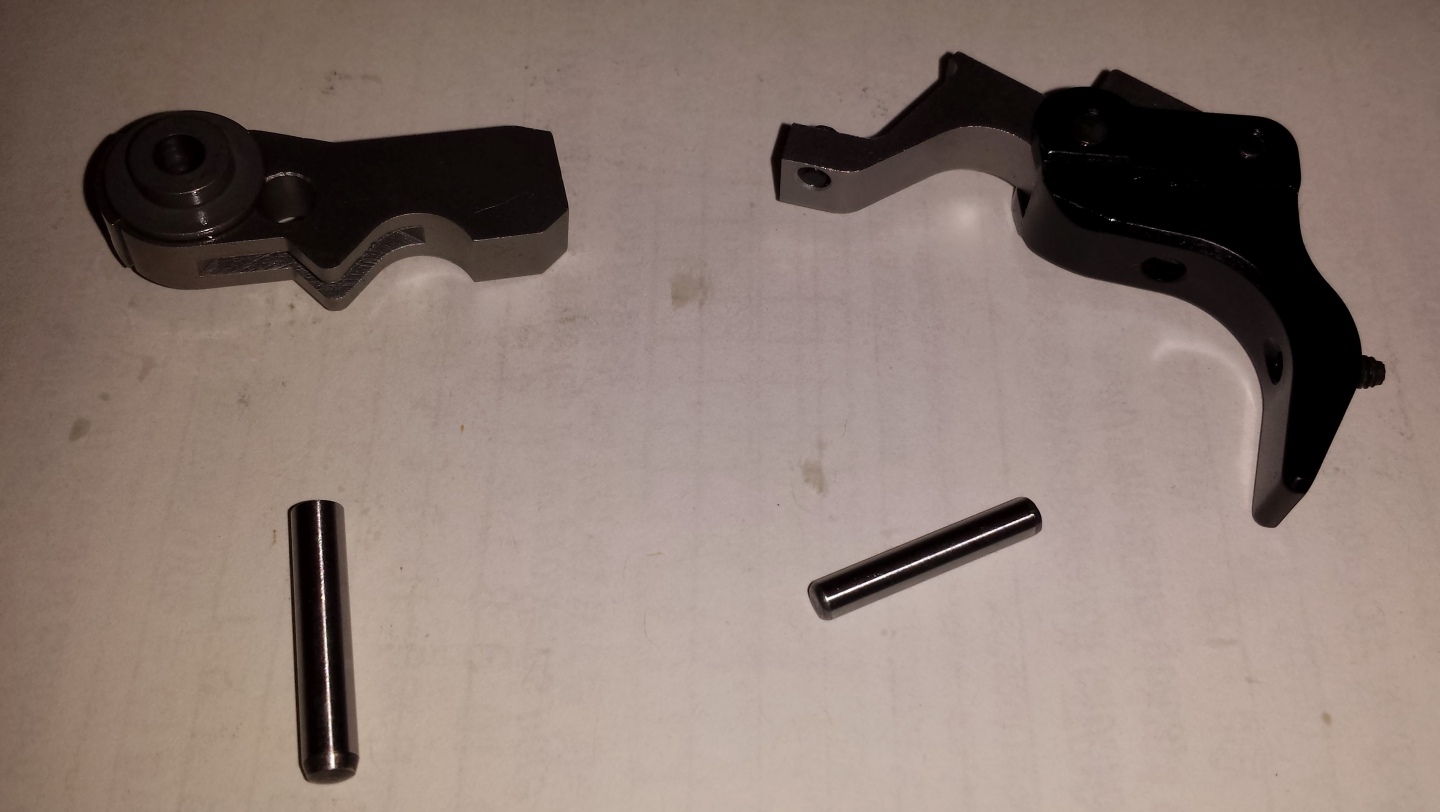
Now, for the trigger assembly itself. I am installing the KIDD "trigger job" kit. While it's all apart lets also install the KIDD magazine release.
Here are the parts in the kit, a new hammer on the left, and the trigger/disconnector/sear assembly (with a slave pin thankfully) on the right.
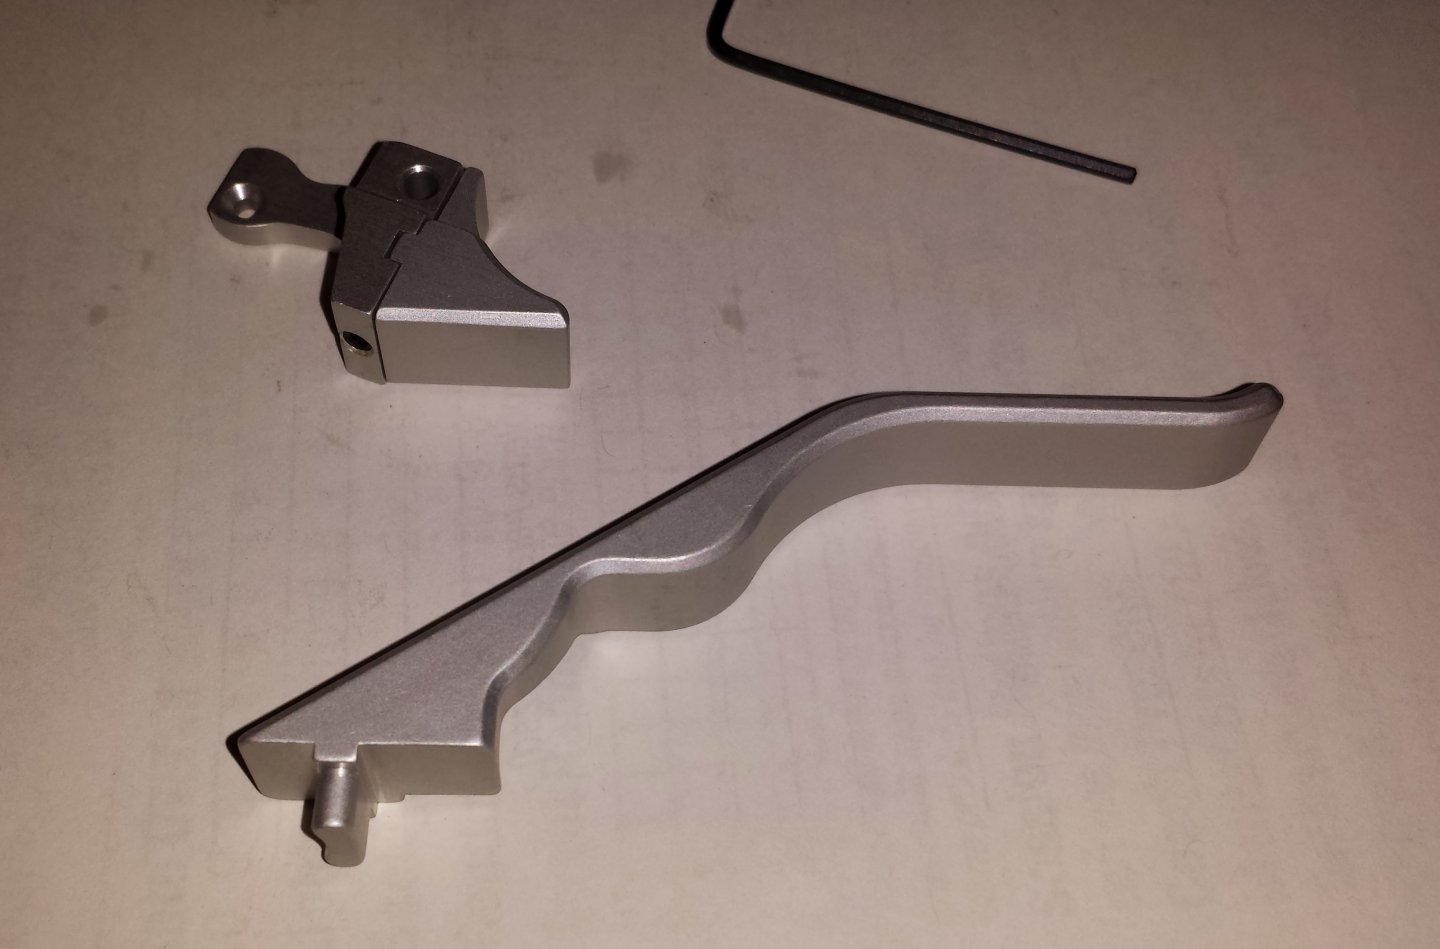
And here is the KIDD magazine relase kit. I liked my old flush style release, and will probably never use the long release supplied, so I'm using the medium lever.
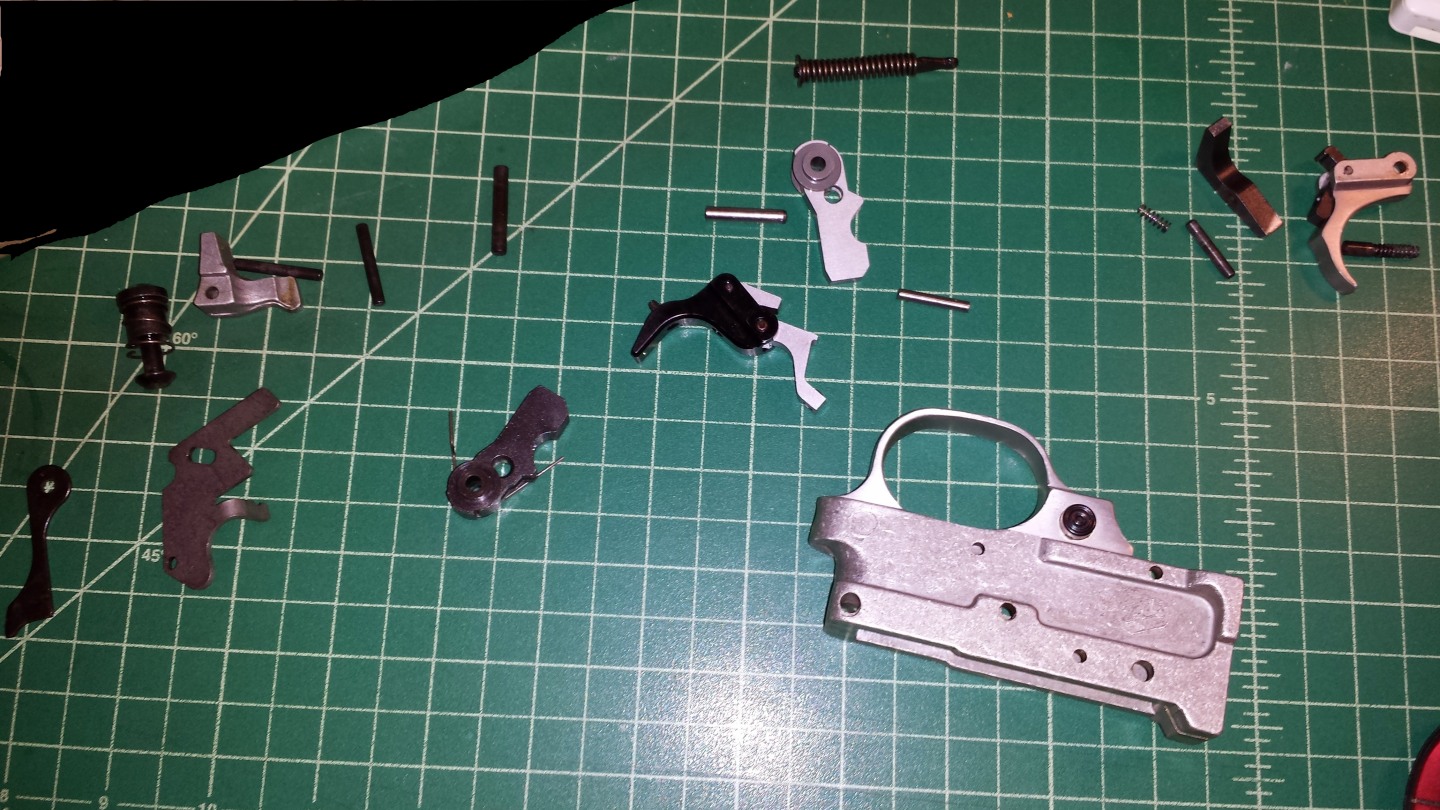
Here are all the parts from the trigger housing scattered about, the new kit is on the right. It looks like a lot of parts, but it's actually very simple.
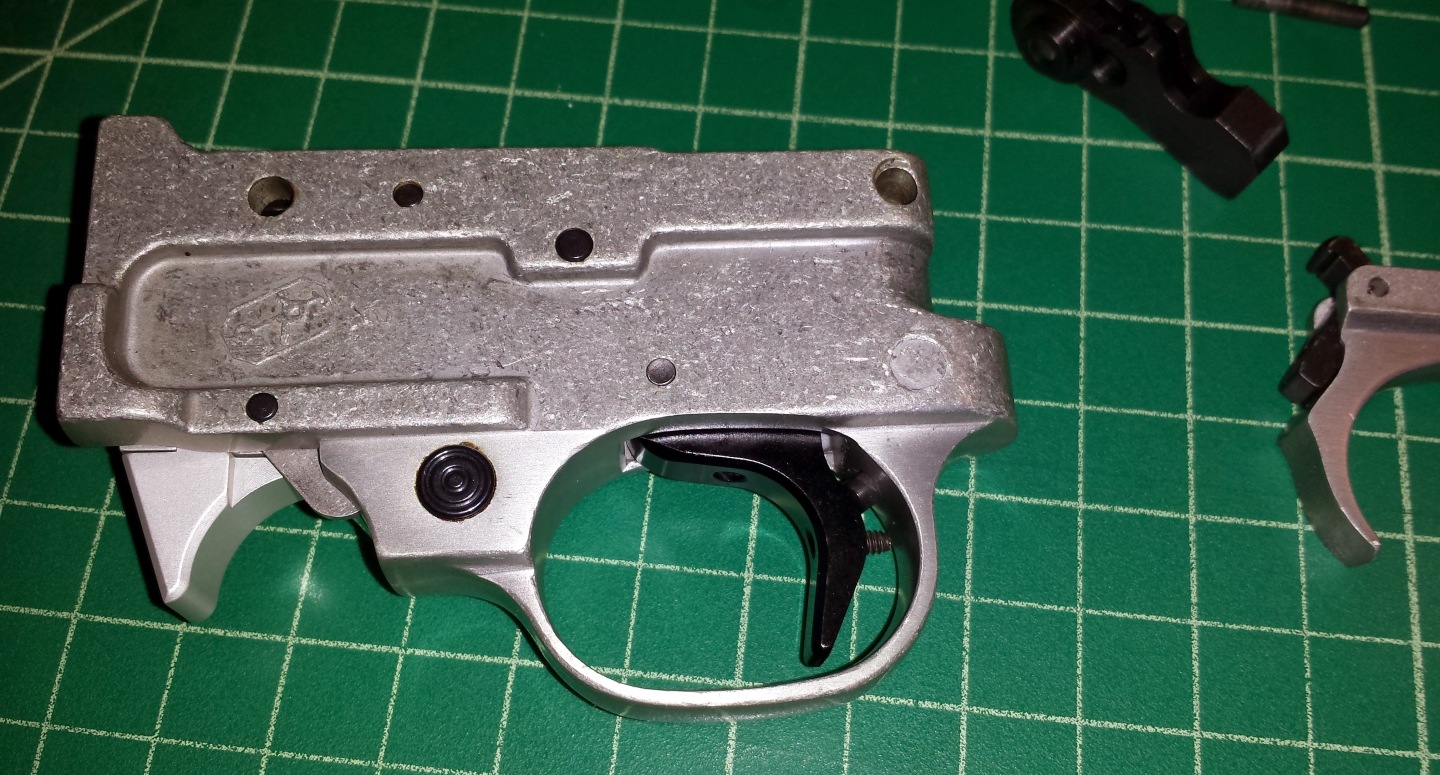
Here are all the parts back in the trigger group housing. The black circle in the bottom, left of the hammer, is the sear adjustment screw.
And here it is from the side with the medium length magazine release also installed. I have to adjust the trigger overtravel stop, but don;t have the correct sized allen key here at the moment. I put in the 2 1/4 pound spring for the sear, and the trigger is amazing, breaks so clean, like snapping the proverbial glass rod!
Stage 2 Completed
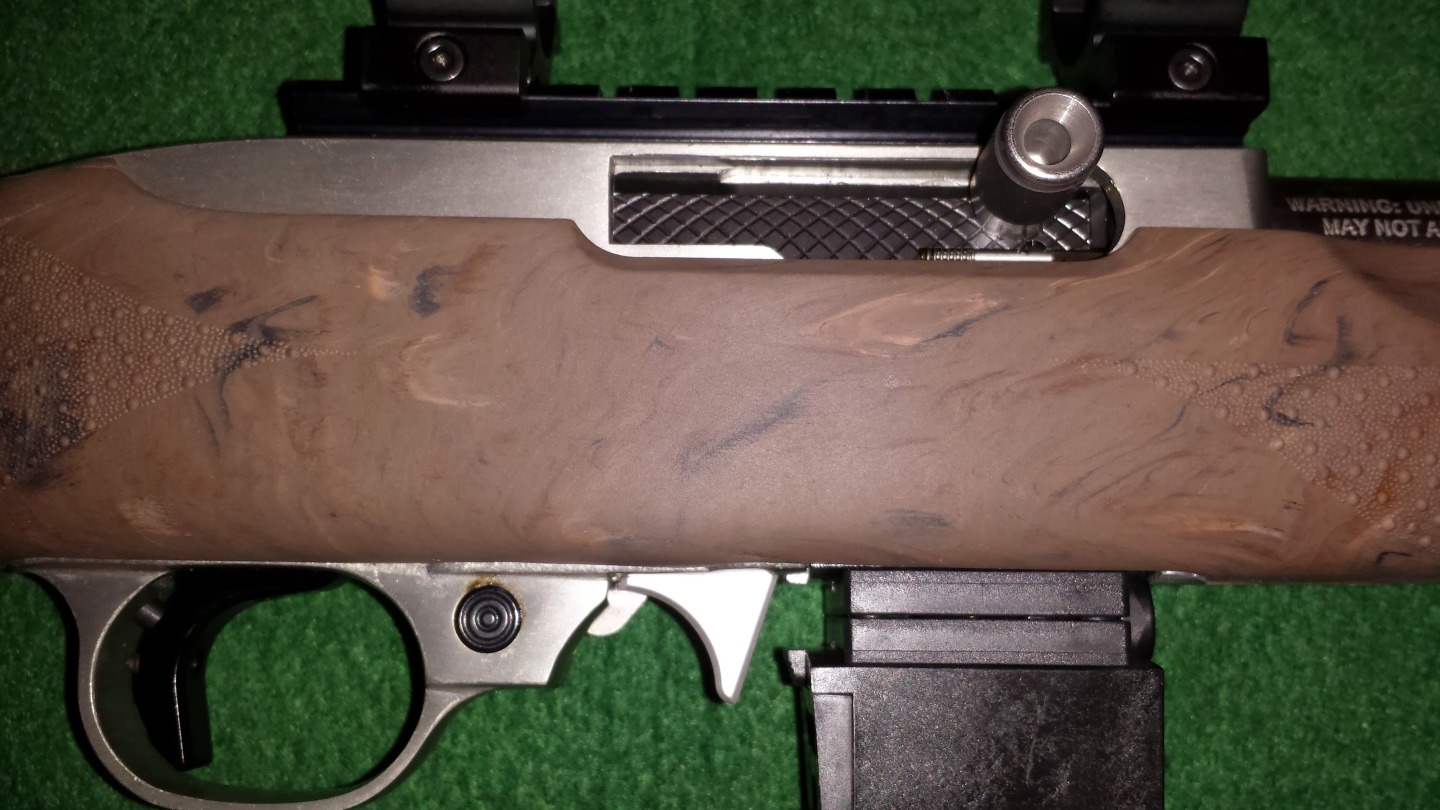
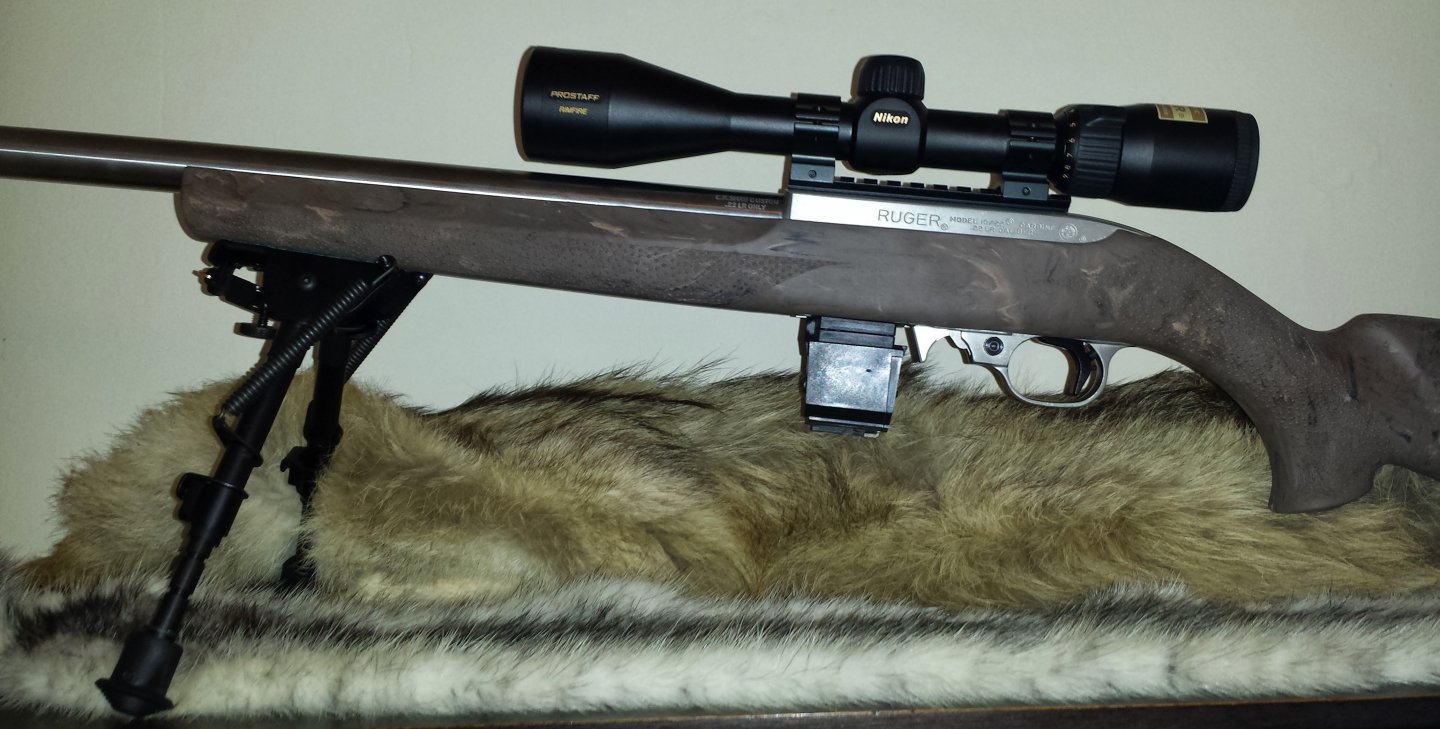
And here it is all assembled and in the stock. Excuse the ugly scope rail and rings, those are just temporary. Not so bad, can't wait to see how she shoots!
Next Friday I am ordering a Nikon 3x9 scope and a Harris bipod, slow but sure we're getting there.
Stage 3
Finally comes the scope mounts and scope!
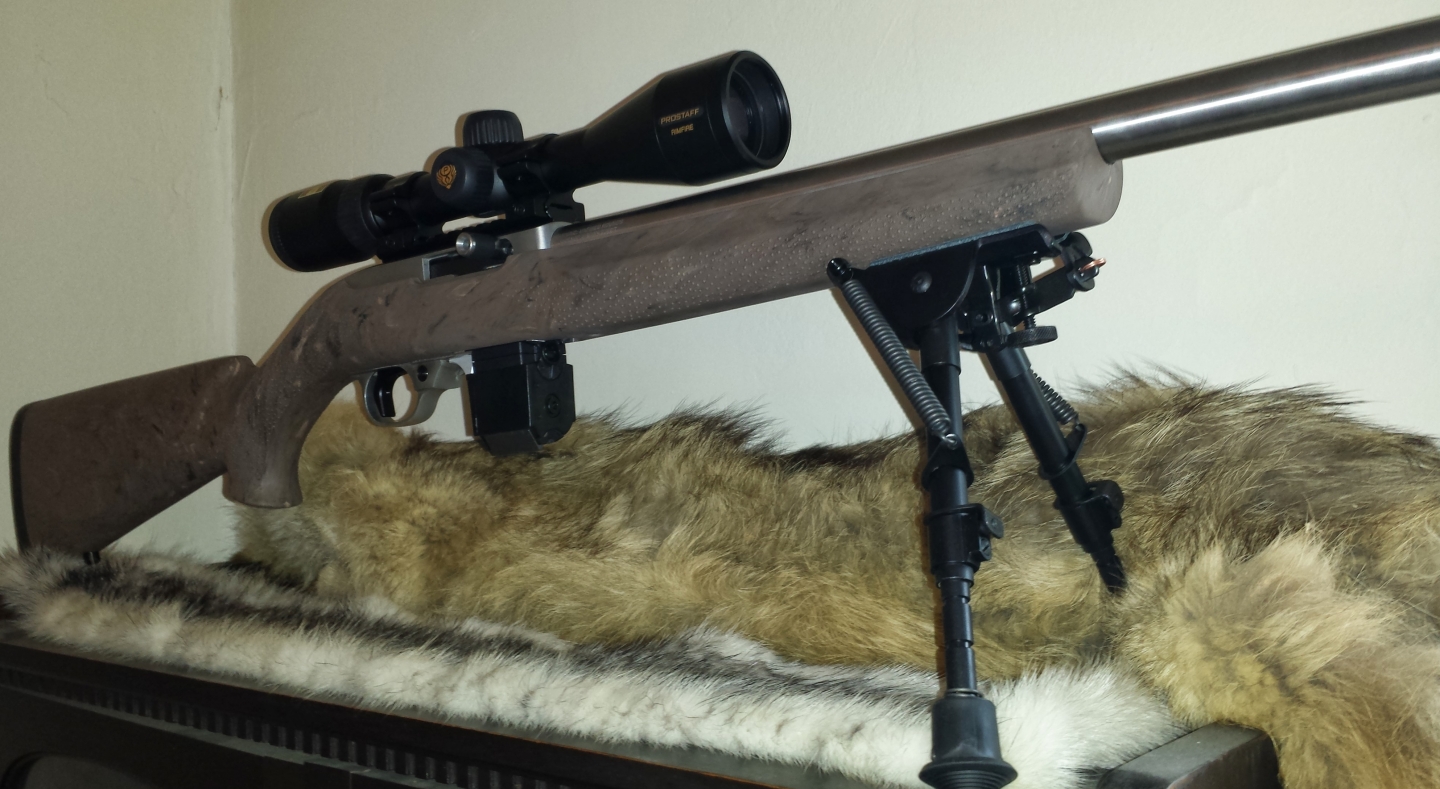
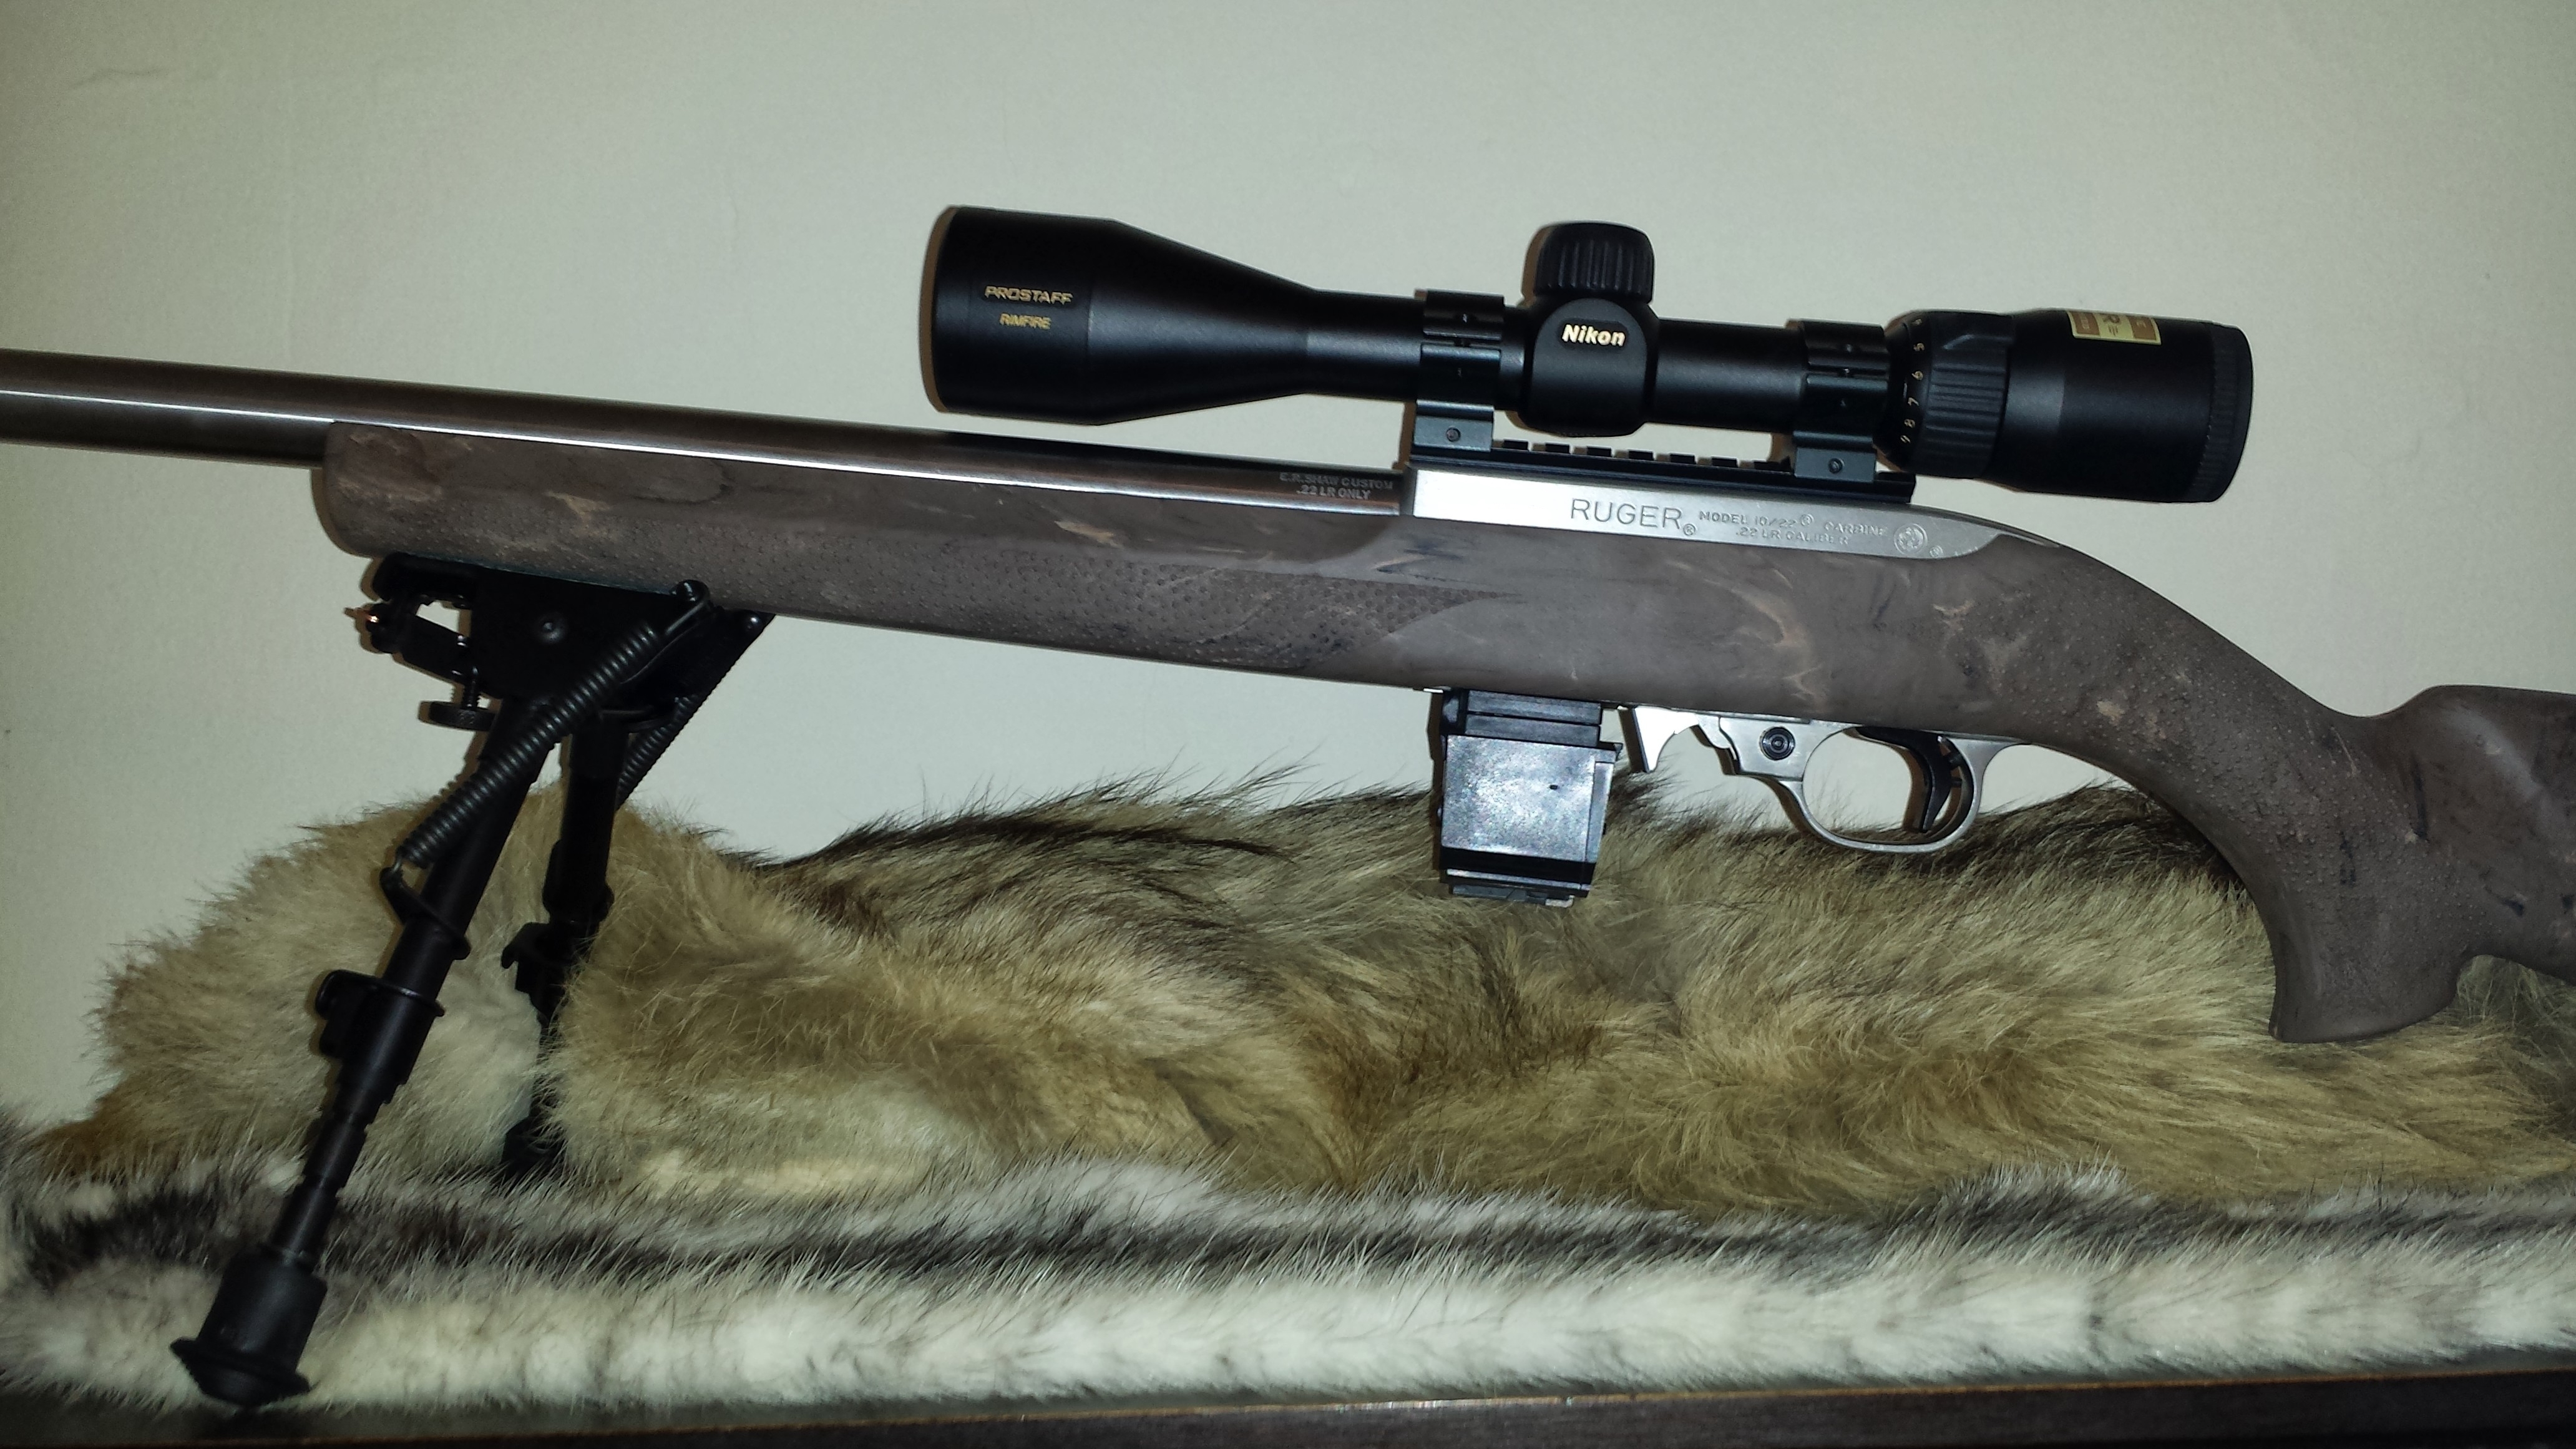
Feb 28, 2014- So I ordered a Harris Bipod got it a few days ago, and the scope came today...
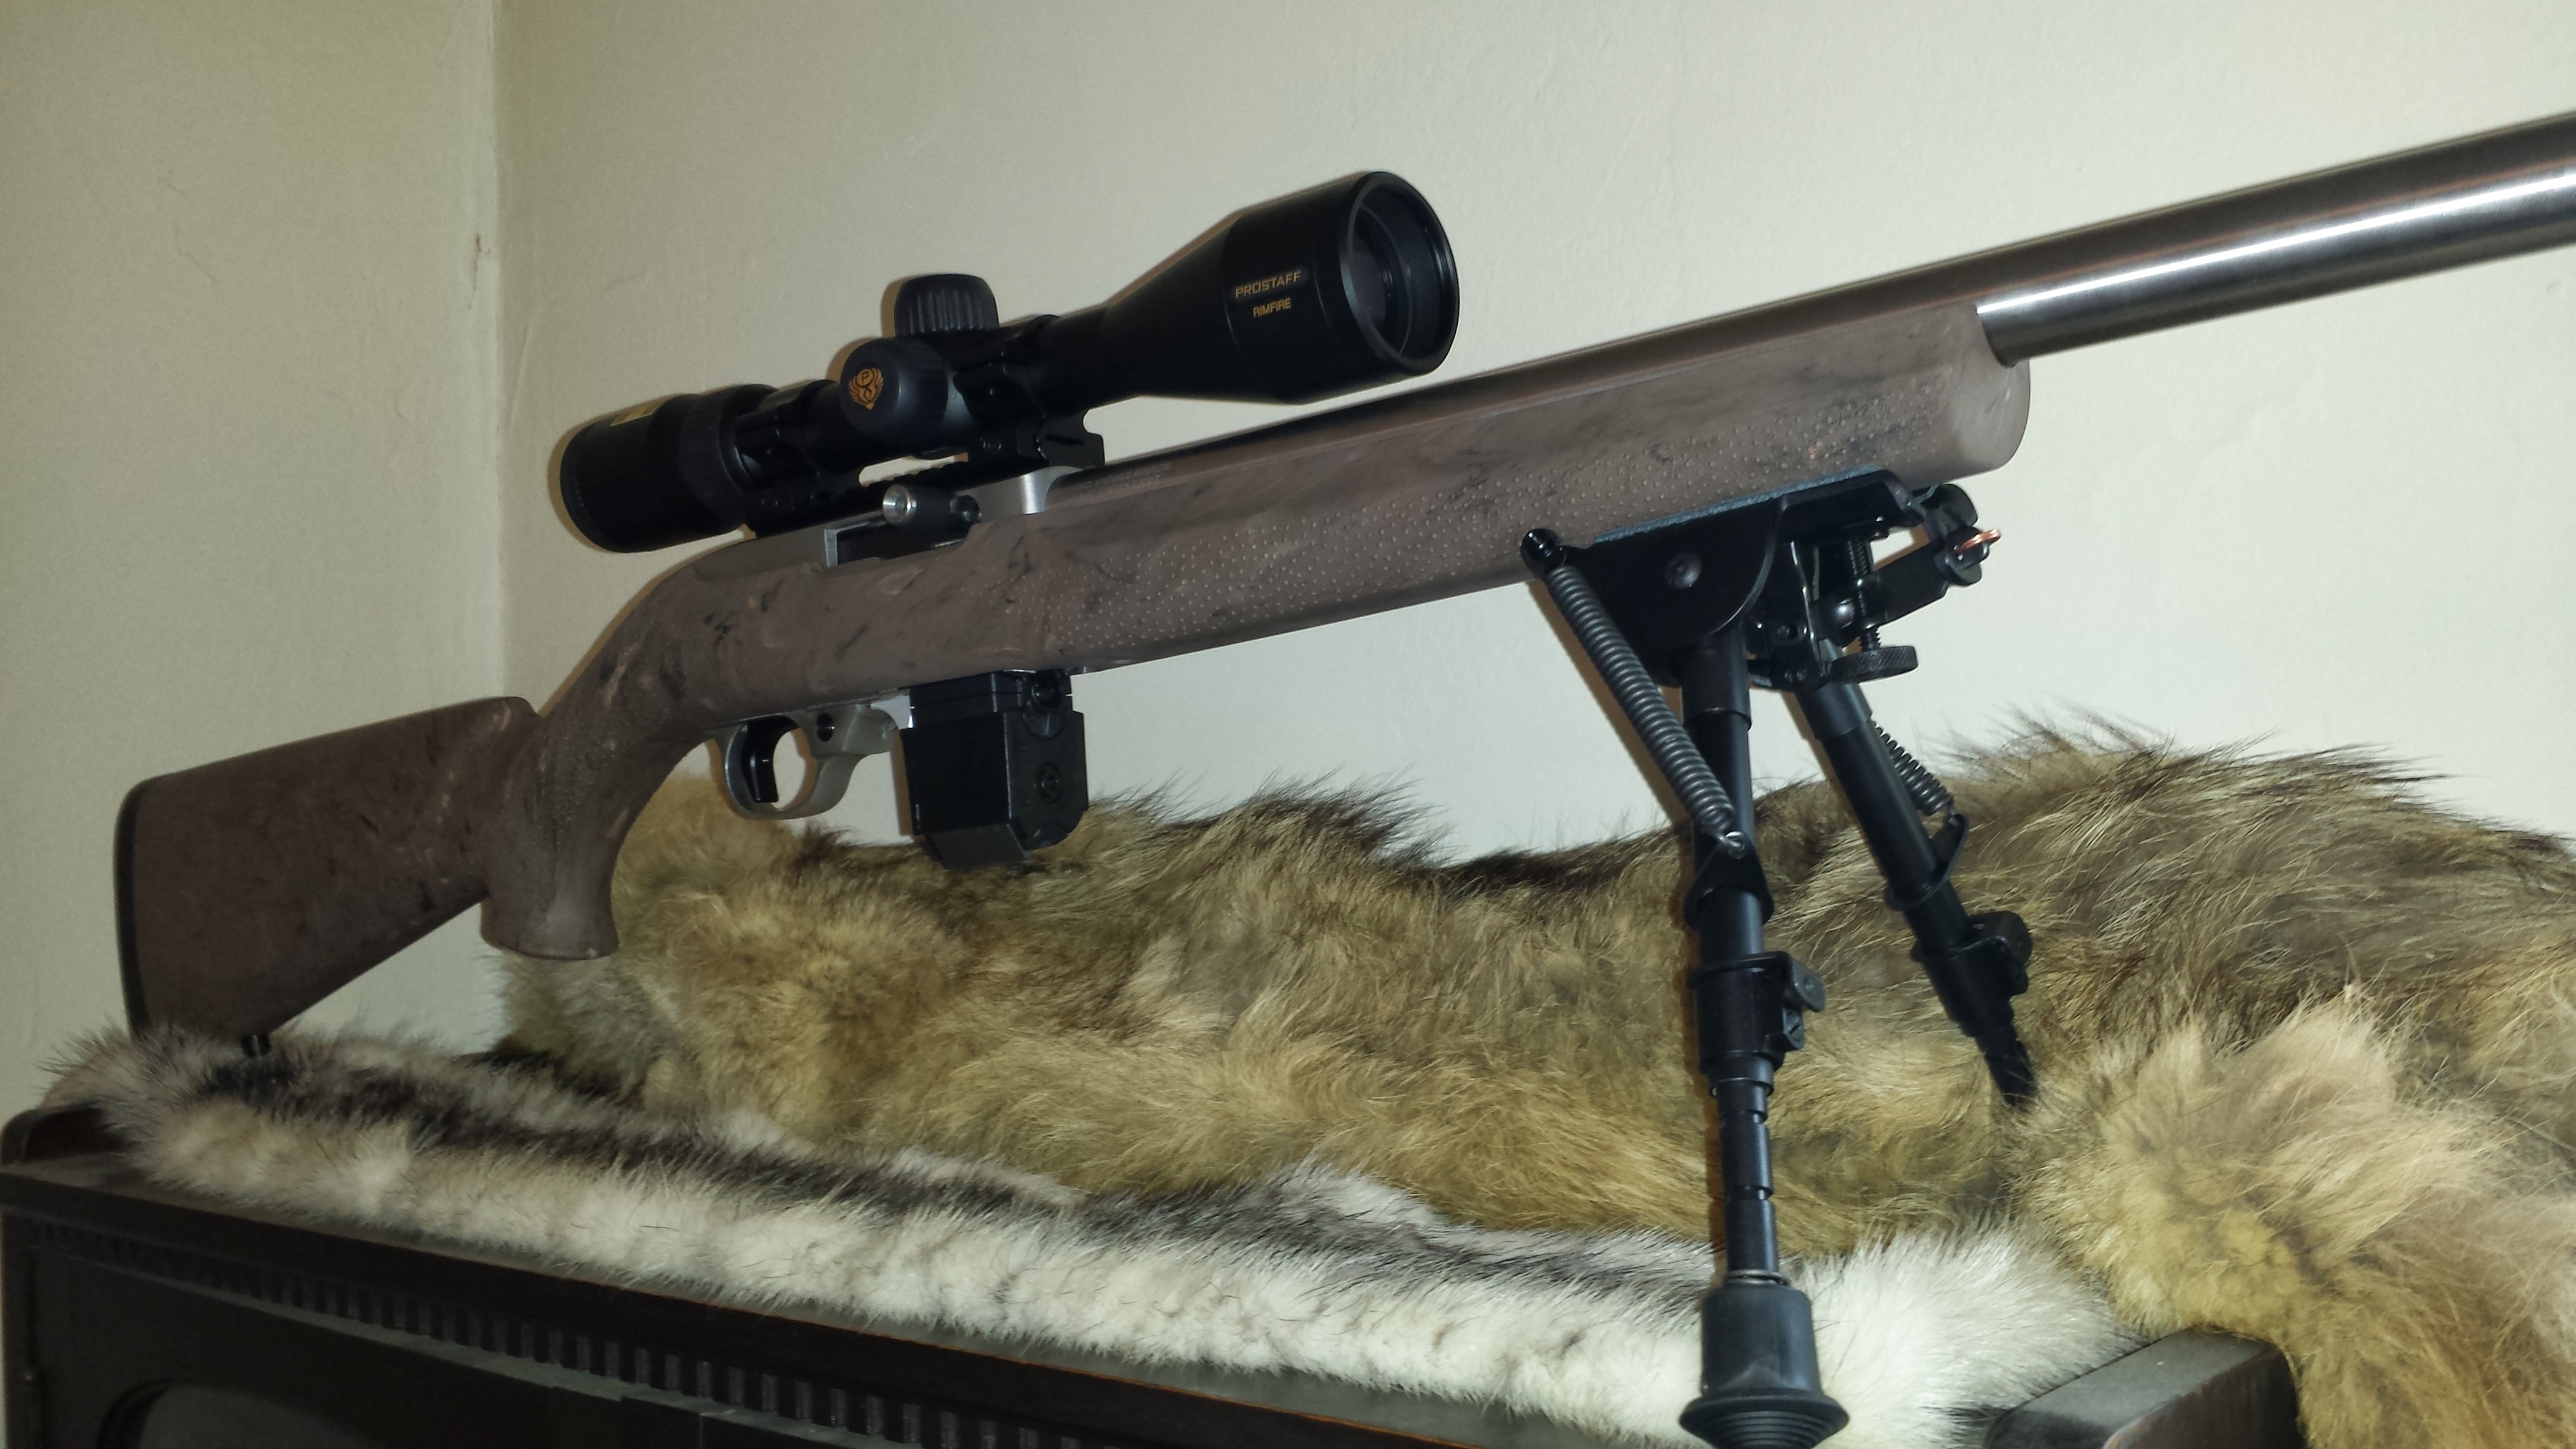
So here she is all done at last! Going shooting tomorrow to sight it in :-)
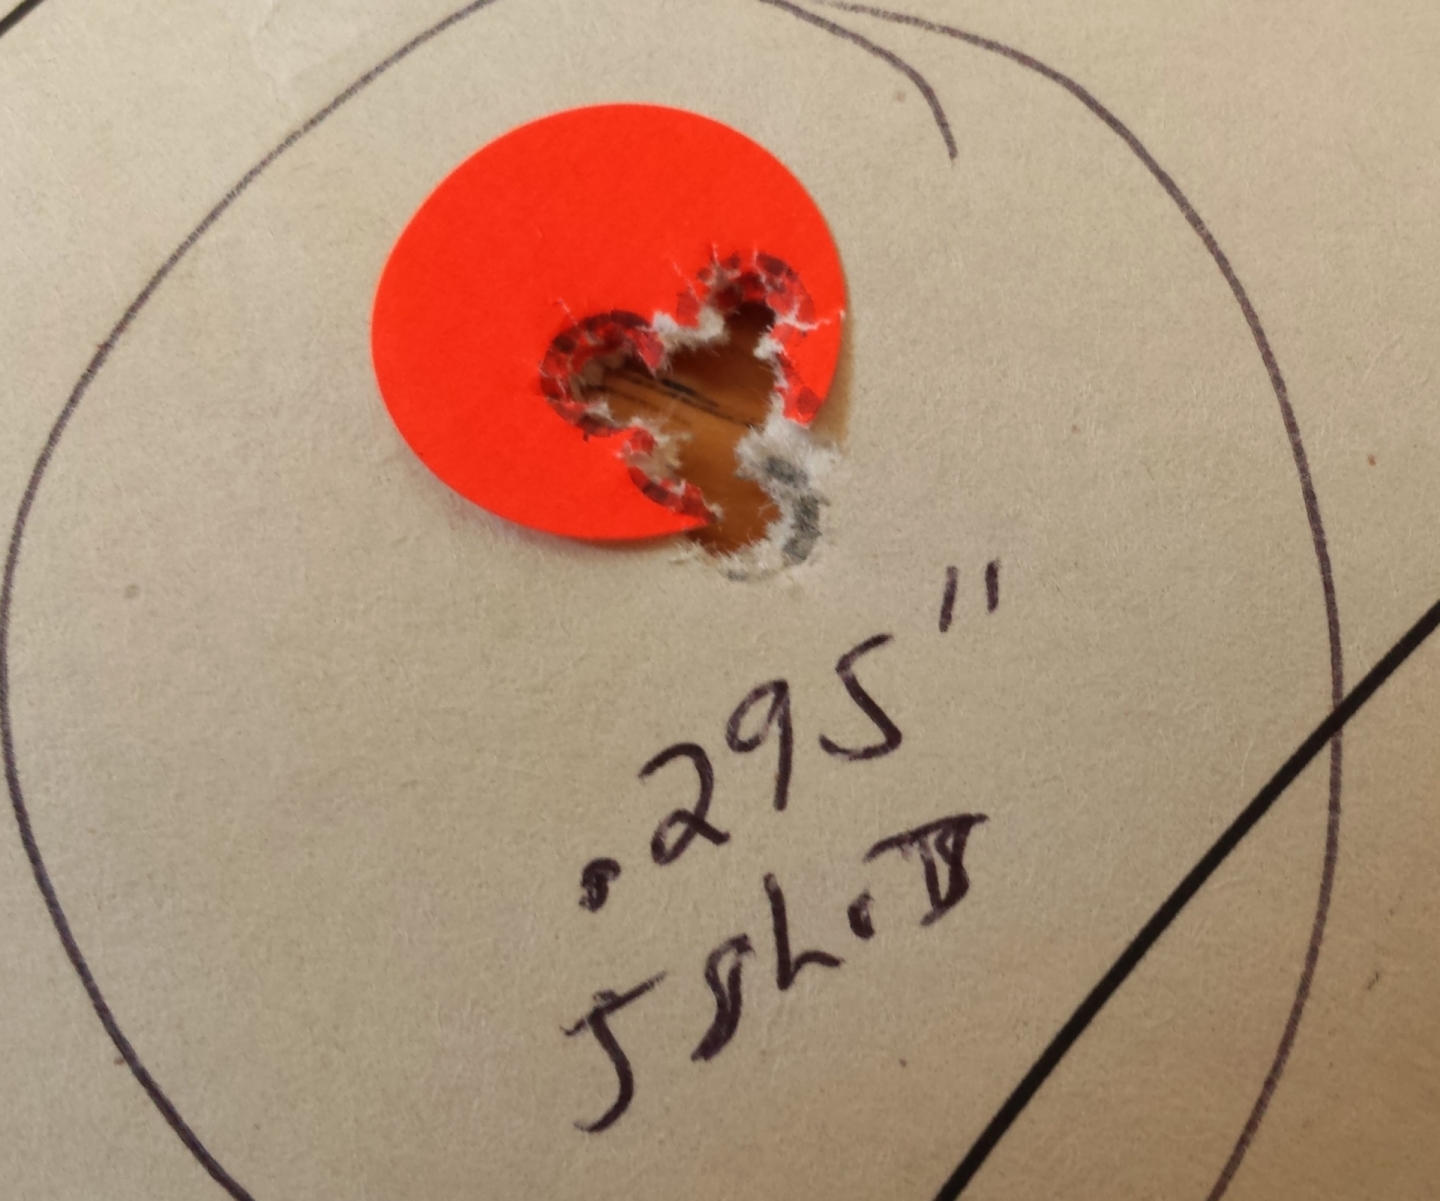
March 9, 2014 Finally got to the range to sight her in.
Best group (5 shot group, none of that wussy 3 shot stuff here) was .295" at 50 Yards using CCI std velocity ammo. Not too bad for a first outing!
Links-
KIDD Innovative Design - Amazing quality, solidly engineered, some of the best 10/22 parts available
E. R. Shaw - Custom and replacement barrels
Hogue - Makers of the original "overmold" stocks
TANDEMKROSS - Magazine doublers... Becuase the tripler is ugly and cumbersome